13 Ways to Better Photos...Day 11 {editing}
Aside from the rule of thirds, composition, & telling your story, my opinion boasts that photo touch-ups are the fourth “key” to better photos. No, not this kind of “touch-up”:
…just a little light enhancement, a little contrast, & a little cropping can make a HUGE difference in the finished product. And I promise…it’ll be a LOT better to look at.
Let’s look at some examples.
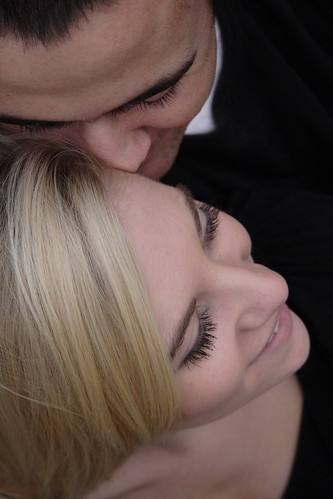
This is Katie & Shaun. Pretty decent picture, right? Composition is there. My angle was decent (they were seated, I was standing directly above them on my tippy-toes). The rule of thirds is in play (can you spot the landmarks?). And the lighting isn’t an eye-sore. But look what happens when I lighten the photo just a little bit, add a bit of contrast, & play with my RGB color curves…
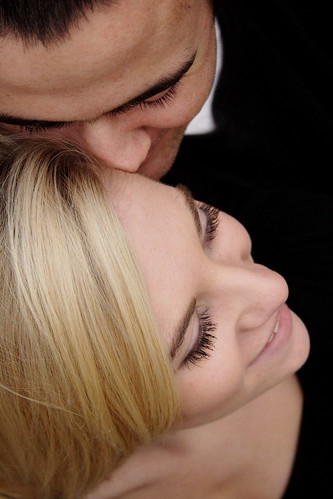
See the difference? Pretty amazing, huh?
Now, before we go any further, I need to make an announcement: I DO NOT OWN PHOTOSHOP. Editing programs with full capacity (like full, professional capacity) are EX.PEN.SIVE. Like please-plant-a-money-tree-in-my-backyard expensive. Which is why Photoshop has not graced our desk (yet). Good news, though. LOTS of free resources are available that will give you almost-as-good results!
For ALL of my photos, I use a basic editing program that came with my camera. It allows me to lighten the photos, play with the contrast, & use RGB color curves to enhance the photos. The “curves” (as they are commonly called) are a great, easy way to edit pictures—although not all “basic” programs have that feature.
Here is a photo of Joelle, taken in less-than-ideal lighting. I edited it using my “free-came-with-my-camera” programs (including editing with “curves”).
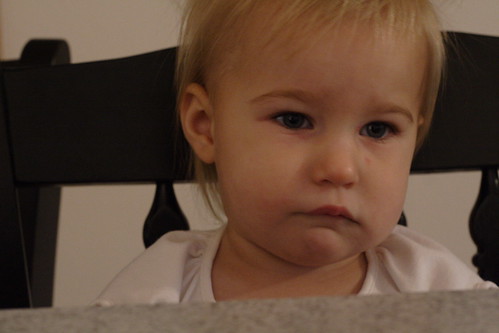
And here is the same photo AFTER editing:

(tip: with less-than-ideal lighting, a trick-of-the-trade is to convert your photos to black & white. You won’t notice the yellow tint or extra glare…AND they take on a much more classic look!).
After taking pictures for only a couple of years with my semi-“fancy” camera, I learned that shooting photos in RAW format COMPLETELY changes what you can do with the pictures! IT IS AMAZING! Now, not all point-and-shoot’s have this feature…but if your camera does, bust out that manual & learn how to do it! You’ll never go back! Let’s take a look, shall we?
This is Karly. She was on a family shoot I did sometime back in the fall (which is still yet-to-be-blogged). I was taking individual photos of all the kids…& forgot to change my manual settings when I snapped this photo.

See the yellow tint? See how over-exposed it is? YUCK.
So…because the photo was shot in RAW (instead of plain ol’ jpg), I was able to literally change my manual settings AFTER THE FACT. And this is what we ended up with!....

Although the final-finish of this photo is a little “green” for my liking, it is a vast improvement from the first, yes?
Among the free photo resources available on the internet, Picnik remains one of my favorites. In fact, I use it to do my “final edits” for my clients (that is, until Photoshop comes to live with us). And it isn’t perfect. It takes a LONG time for such large photos. But for now, it works. I’m all about work-with-what-you-have….and this site does the trick!
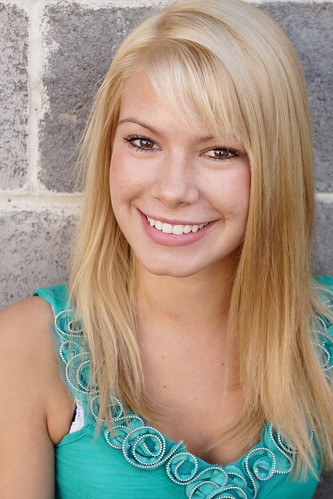
This is Alyssa.
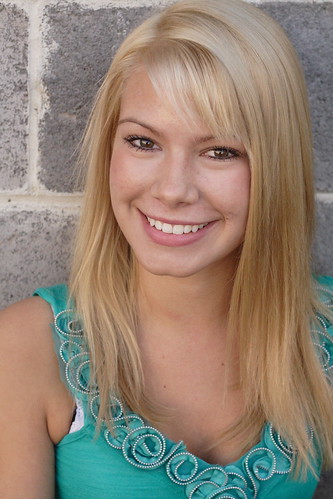
Decent photo, right? (beautiful girl, yes?)
This is Alyssa after my free came-with-my-camera basic editing.
This is Alyssa after playing with the same photo above in Picnik…
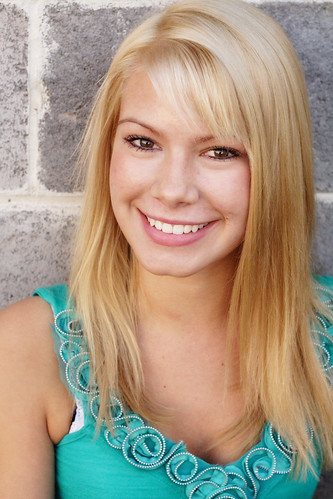
(“Orton” at about 75%)
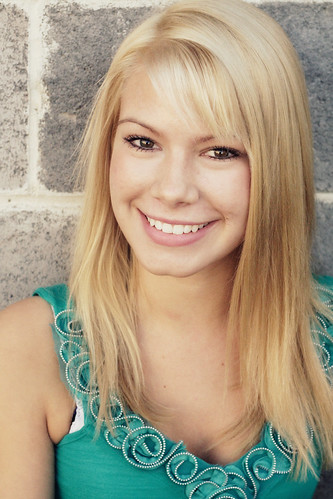
(“Cross Process” at about 75%)

(“Sepia” at 100%)
See what a difference it makes? HUGE!
So take the time to edit your photos. I PROMISE you’ll love them more in the end. And take the EXTRA time to edit those make-my-heart-melt favorites—make them really frame-worthy with that extra 15 minutes spent on the computer. EVERY professional photography takes time post-processing (a fancy term for perfecting your already-shot-photos on the computer). You won’t regret it.
Other resources:
Another great example of one photo i'm totally jealous of...
This post is part of a photography series...
Day 1 {angle}
Day 2 {the golden rule}
Day 3 {composition}
Day 4 {lighting}
Day 5 {perspective}
Day 6 {details}
Day 7 {focus}
Day 8 {camera talk}
Day 9 {documentation}


1 comment:
Another photo editing program to consider is the GNU Image Manipulation Program(http://www.gimp.org/). It is open source, so it is free, and is extremely powerful if you can get used to the layout of the controls.
Post a Comment