
13 Ways to Better Photos...DAY 4 {lighting}
This is a tricky subject. ESPECIALLY if you are just a normal everyday-Joe taking pictures of your dog or kids or Great-Grandmother Ruth. Because it seems quite ridiculous to me to manipulate your subjects while they are playing with Polly Pockets or plan your birthday parties around the sunset or reinstall light fixtures in your home JUST FOR PHOTOGRAPHS. So for all of us practical folk who enjoy the simplicity of snapping photos at ease, these few tips should help.
I hope…
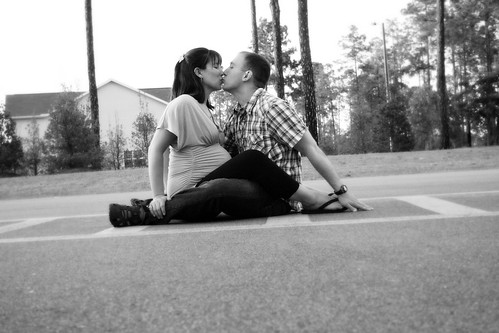
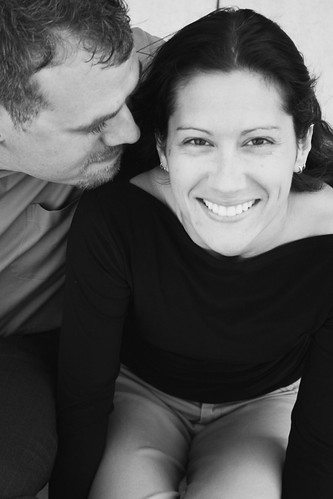
What is the best time of day to shoot? If you answered morning or evening you’d be right! And overcast skies are MUCH BETTER than sunshine for photos. Sunshine tends to accentuate shadows…which always happen to land on the black bags under my eyes or my unsightly jaw line. Both of which I would prefer to not have documented for my grandchildren to gawk at…err…admire.

{do you see that fabulous accentuation of the shadows? yeah...}
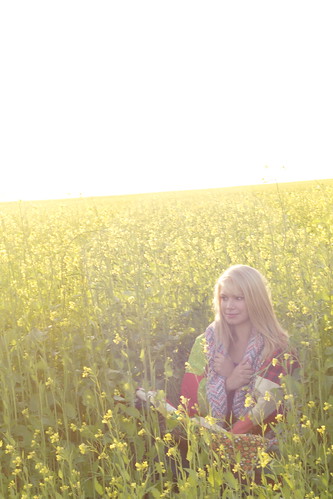
Anyways…if you have the opportunity (if!), try to remember to time your photos around the sun. And if you are taking your chances in a planned photo shoot, avoid the sun like the plague…take the peeps you are shooting out early in the morning or right before sunset—the lower the sun is to the horizon, the better the photos will be. Or better yet, check out the forecast & choose days that are “overcast” over those that Mr. Sun is supposed to show his face.
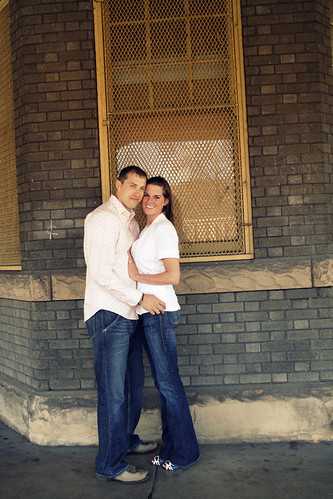

What if I HAVE to shoot in mid-day? Try to find a place of non-spotty shade. In other words, look for the shade of a building instead of the shade of a tree. Those little holes where the leaves don’t cover make shadows…which make your subjects look like they’ve contracted a rare strain of chicken pox or Brazilian Mole Virus (I totally just made that up…). Not pretty.
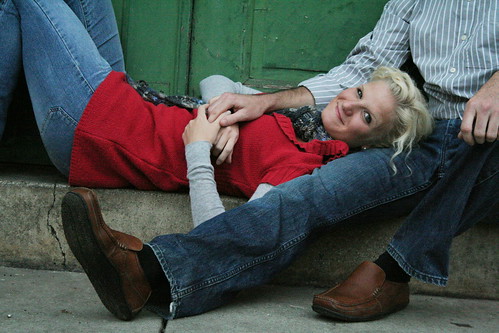
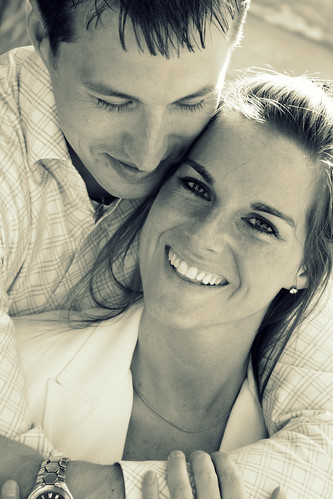
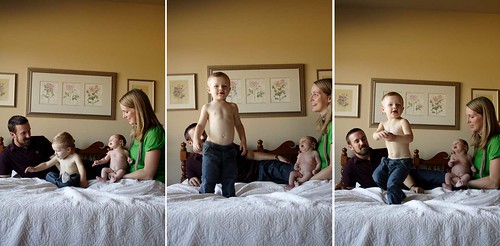
Remember to place your subjects toward the edge of the shade & have them look UP. Remember what this will do?

{answer: make their eyes look ALIVE!...among other things…}
That little “pocket” of light that shows up in your subjects’ iris (i.e., the colored part of their eye) is called “Catch-Light”. And it is the treasure of photographing people. Without catch-light, your subjects look much less alive—their eyes take on a bland, almost lifeless appearance.


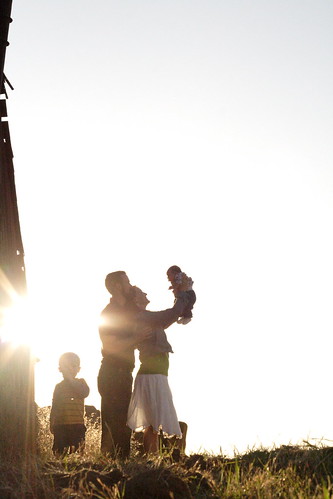
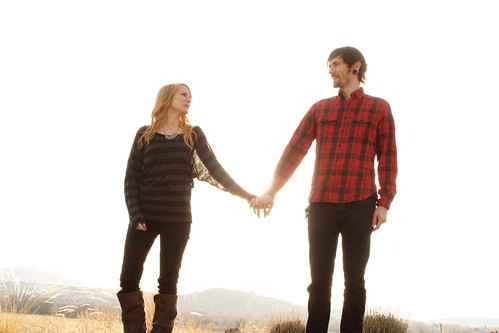
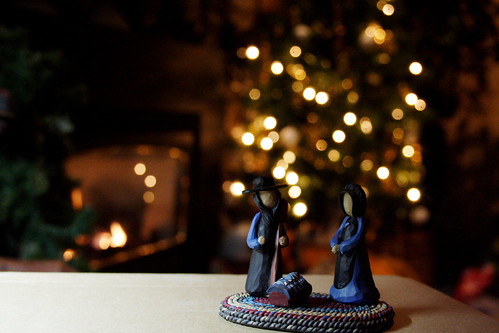
What if there is no shade AT ALL? Shoot into the sun. Yup. That is right! INTO THE SUN. you may not see faces as well…but you’d be surprised at just how much a silhouette can tell you. If you own a fancy schmancy camera, you can play with your manual settings to get a bit of sunflare. Also, turn your flash OFF for close-ups of people & things—you can steady your camera on the surface nearby…& turn ON your flash on for those fast-moving photos (especially with kids!)


If you don’t have the luxury of north-south windows, then close your blinds if the sun is out (as long as they aren’t black-out shades). This should provide ample light…should being the key word.
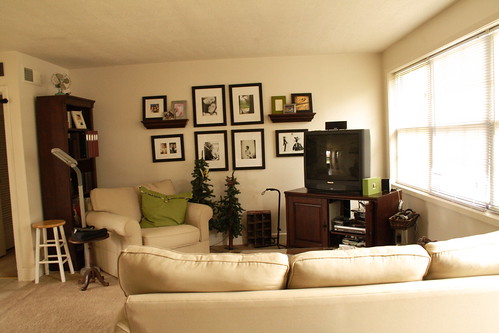
{i miss this house of ours!...}
What if…? Well then make-do. You are a smart cookie (yumm…cookies…). Not all your photos will be award-winners. But using these & the other basic rules will get you decent photos—even some that are meaningful.

Other resources: Finding the Light, Put the Light Behind You
This post is part of a photography series...
Day 1 {angle}
Day 2 {the golden rule}
Day 3 {composition}


1 comment:
GREAT post...very complete. And lots of lovely examples, too!
Post a Comment